As I stood in my kitchen, the sweet, tangy scent of cherries wafted through the air, instantly transporting me back to summer picnics where dessert was always a highlight. It was a bit of nostalgia, really—those iconic moments where cherry pie stole the show. That’s when I realized that creating homemade Cherry Pie Filling is easier than I ever imagined, and the best part? It only takes 22 minutes from start to finish!
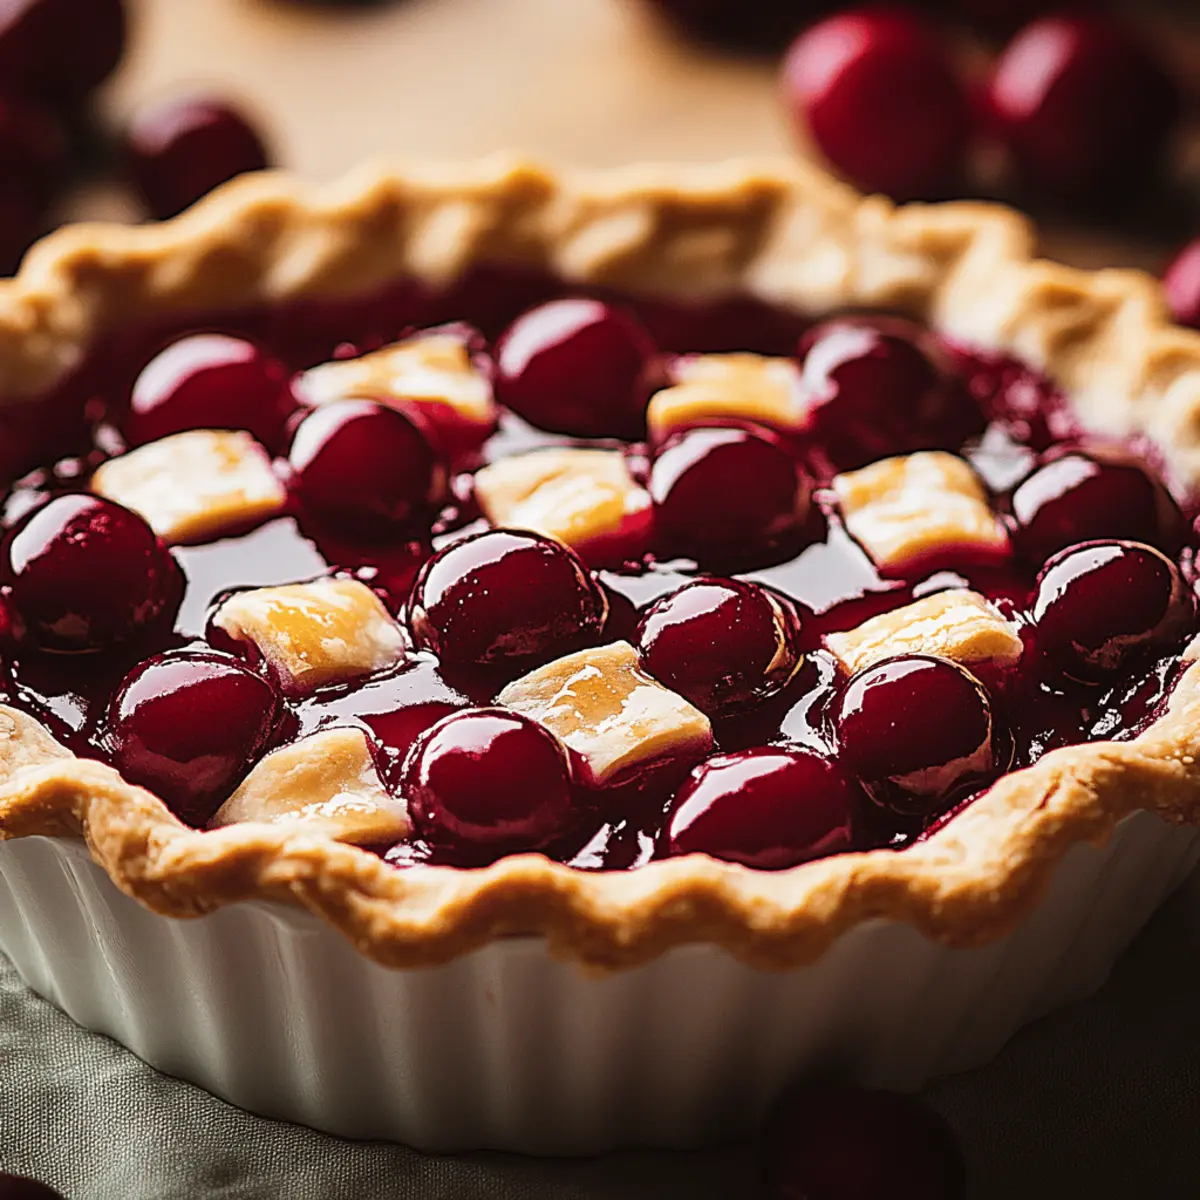
This recipe promises to elevate your baking game whether you’re preparing for a special occasion or just yearning for that comforting, fruity treat. With a handful of simple ingredients, you can whip up a luscious filling bursting with flavor, perfect for topping off your favorite pies, tarts, or even a scoop of vanilla ice cream. Say goodbye to store-bought options that often lack freshness, and embrace a recipe that invites warmth and deliciousness into your home. Let’s get started on making that cherry-filled magic together!
Why is Cherry Pie Filling a must-try?
Simplicity reigns with this quick recipe, needing just 22 minutes from start to finish. Bursting with fresh flavors, the combination of sweet cherries, tangy lemon juice, and optional spices delivers a delightful taste. Versatile in its use, this filling can elevate not just pies but also pancakes, waffles, or even yogurt parfaits. Homemade means you control the quality, avoiding preservatives found in store-bought varieties. Crowd-pleasing appeal! Perfect for gatherings or just a family treat, it brings everyone together for a sweet slice of nostalgia.
Cherry Pie Filling Ingredients
• Dive into the delightful world of flavors with these Cherry Pie Filling ingredients:
For the Filling
- 4 cups fresh or frozen cherries – pitted cherries bring that juicy sweetness essential for a perfect filling.
- 1 cup granulated sugar – this adds the right amount of sweetness to balance the cherries’ tartness.
- 1/4 cup cornstarch – a thickening agent that ensures your filling is perfectly creamy and holds together well.
- 2 tablespoons lemon juice – brightens the flavor and enhances the cherries’ natural taste.
- 1 teaspoon cinnamon (optional) – adds a warm spice that takes the filling to another level of deliciousness.
- 1 teaspoon vanilla extract (optional) – introduces a rich aroma that complements the cherries beautifully.
By using these ingredients, making your own Cherry Pie Filling will have you reliving those cherished moments of summer bliss, one slice at a time!
How to Make Cherry Pie Filling
-
Prepare the Cherries: Start by washing and pitting your fresh cherries or simply thaw the frozen ones. This is the foundation of your luscious filling!
-
Mix Ingredients: In a large bowl, combine the cherries, granulated sugar, and lemon juice. Stir gently until the cherries are evenly coated, creating a beautifully sweet and tangy mixture.
-
Add Cornstarch: Sprinkle the cornstarch over the cherry mixture. Gently fold it in to combine, ensuring every cherry is nicely coated to achieve that perfect, thicker consistency.
-
Cook the Filling: Transfer your mixture to a medium saucepan and place it over medium heat. Stir occasionally, cooking for about 5-7 minutes until the mixture starts bubbling and thickens slightly.
-
Cool and Use: Remove the saucepan from heat, letting the filling cool for a bit. It’s now ready to star in your pies, tarts, or other desserts that call for a delightful cherry touch!
Optional: Serve warm over vanilla ice cream for a delicious dessert experience!
Exact quantities are listed in the recipe card below.
Expert Tips for Cherry Pie Filling
-
Choose Quality Cherries: Always opt for fresh cherries in season for the best flavor; if using frozen, thaw and drain excess liquid for a thicker filling.
-
Get the Right Thickness: Monitor how much cornstarch you add. Too little may lead to runny filling, while too much can make it overly thick. Aim for a balance!
-
Taste Before Cooking: After mixing, taste the cherry mixture before cooking. Adjust sugar or lemon juice to your preference; you want that perfect sweet-tart balance for your Cherry Pie Filling.
-
Use Fresh Ingredients: Enhance flavors by using real vanilla extract and fresh lemon juice instead of bottled varieties. It makes a world of difference in taste!
-
Make Ahead: This filling can be made in advance and stored in the fridge for up to a week; simply cool it completely before transferring to an airtight container.
-
Experiment with Spices: Don’t hesitate to try different spices, like nutmeg or cardamom, to customize your Cherry Pie Filling to your unique taste!
Make Ahead Options
These Cherry Pie Filling preparations are a lifesaver for busy weeknights or gatherings! You can mix the cherries with sugar and lemon juice and refrigerate this mixture up to 24 hours before cooking. This not only saves time but also allows the flavors to meld beautifully. The corn starch can be added right before cooking to ensure that the filling thickens perfectly when heated. When you’re ready to serve, simply transfer the mixture to a saucepan, sprinkle in the cornstarch, and cook it over medium heat until bubbly and thickened. By prepping in advance, you’ll enjoy that homemade taste without the rush!
Cherry Pie Filling Variations
Feel free to get creative with your Cherry Pie Filling—these delicious twists will elevate your homemade dessert experience!
- Sugar-Free: Swap granulated sugar for a natural sweetener like stevia or erythritol to enjoy a guilt-free treat.
- Add Spices: Sprinkle in some nutmeg or ginger for an extra layer of warmth and depth to the filling—perfect for cozy gatherings.
- Spicy Kick: Mix in a pinch of cayenne pepper to bring an unexpected heat that pairs beautifully with the sweet cherries.
- Berry Blend: Combine cherries with blueberries or raspberries to create a mixed berry filling bursting with vibrant flavor.
- Coconut Twist: Substitute half of the cornstarch with shredded coconut for a tropical flair and added texture in your filling.
- Almond Extract: Replace vanilla extract with almond extract for a unique, nutty scent that beautifully complements the cherries.
- Lemon Zest: Add a teaspoon of lemon zest for a delightful burst of brightness that enhances the overall flavor profile.
- Creamy Addition: Stir in a dollop of cream cheese once cooled for a richer, creamier Cherry Pie Filling—ideal for cheesecakes!
With these variations, your Cherry Pie Filling will shine in delicious and unexpected ways!
What to Serve with Cherry Pie Filling?
Your homemade cherry pie filling deserves the perfect companions to truly shine and create a delightful meal experience.
-
Flaky Pie Crust: This classic pairing provides a buttery base, allowing the sweet and tangy cherry filling to gleam while offering a satisfying crunch.
-
Vanilla Ice Cream: A scoop of creamy vanilla ice cream complements the warm cherries, adding a sweet creaminess that perfectly balances the tartness, making every bite memorable.
-
Whipped Cream: Light and airy whipped cream delivers a touch of sweetness and an additional smooth texture, enhancing the overall decadence of your cherry dessert.
-
Chocolate Drizzle: A rich chocolate sauce creates a luxurious contrast against the cherries, providing a delightful twist that will surprise your taste buds with every bite.
-
Almond Tarts: The nutty flavor of almond tarts pairs beautifully with the fruity filling, adding complexity while keeping a satisfying crunch from the crust.
-
Cheesecake: Whether as a topping or layer, the rich creaminess of cheesecake combined with the cherry filling creates a blissful harmony of flavors that is simply irresistible.
-
Sparkling Wine: A glass of bubbly brings a festive flair to your dessert and cleanses the palate, making every sweet bite feel like a special occasion.
-
Shortbread Cookies: Buttery, crumbly shortbread cookies provide a wonderful texture contrast, allowing you to enjoy the cherry filling in a whole new way, whether on the side or crumbled on top.
These delightful pairings will elevate your cherry pie filling experience, creating moments that linger long after the last bite!
How to Store and Freeze Cherry Pie Filling
Fridge: Keep your Cherry Pie Filling in an airtight container for up to 1 week. This allows you to make ahead, making it convenient for your baking plans!
Freezer: For long-term storage, freeze the filling in sturdy freezer bags or containers, removing excess air. It lasts up to 6 months, preserving that fresh cherry flavor.
Thawing: When ready to use your frozen filling, transfer it to the fridge to thaw overnight. Alternatively, you can thaw it in the microwave in short increments for quick use.
Reheating: If desired, gently reheat the filling in a saucepan over low heat, stirring occasionally until warmed through, to bring back that delightful fresh taste!
Cherry Pie Filling Recipe FAQs
How do I choose the best cherries for my filling?
Absolutely! When selecting cherries, look for ones that are plump, firm, and have a deep color—this indicates ripeness and sweetness. Avoid cherries with dark spots or bruising, as these can be overripe. If using frozen cherries, check they are pitted and free from ice crystals for the best results.
How should I store leftover Cherry Pie Filling?
Very simply! Store your Cherry Pie Filling in an airtight container in the fridge for up to 1 week. Let the filling cool completely before sealing to preserve its freshness. Just remember to give it a good stir before using it in your favorite recipes!
Can I freeze Cherry Pie Filling for later use?
Absolutely! To freeze your Cherry Pie Filling, pour it into freezer-safe bags or containers, removing as much air as possible. It will keep well for up to 3 months. For easy thawing, you can even label the bags with the date so you know when to use it!
What should I do if my filling is too runny?
No worries! If your filling turns out runny, you can add a bit more cornstarch to thicken it. Mix 1 tablespoon of cornstarch with 2 tablespoons of cold water to create a slurry and stir this mixture into your filling while it’s cooking. Heat on low, stirring continuously until it thickens to your desired consistency.
Are there any allergies I should consider when making Cherry Pie Filling?
Very important! While Cherry Pie Filling is generally safe for most, be mindful of any allergies. Granulated sugar can be substituted with coconut sugar or agave syrup for those with dietary restrictions. Always check your ingredients for allergens, especially if you’re sharing your delicious dessert with friends or family!
Can I customize my Cherry Pie Filling with other fruits?
Absolutely! Feel free to mix in other fruits like blueberries or raspberries for a delightful twist. Just be sure to adjust the sugar levels based on the tartness of the fruits you choose. Enjoy the creativity in your kitchen!
Irresistibly Easy Cherry Pie Filling for Perfect Desserts
Ingredients
Equipment
Method
- Prepare the Cherries: Start by washing and pitting your fresh cherries or simply thaw the frozen ones.
- Mix Ingredients: In a large bowl, combine the cherries, granulated sugar, and lemon juice. Stir gently until evenly coated.
- Add Cornstarch: Sprinkle cornstarch over the mixture and fold in to combine.
- Cook the Filling: Transfer mixture to a medium saucepan over medium heat. Stir occasionally for 5-7 minutes until bubbling.
- Cool and Use: Remove from heat and let cool. Use it for pies, tarts, or as a topping.